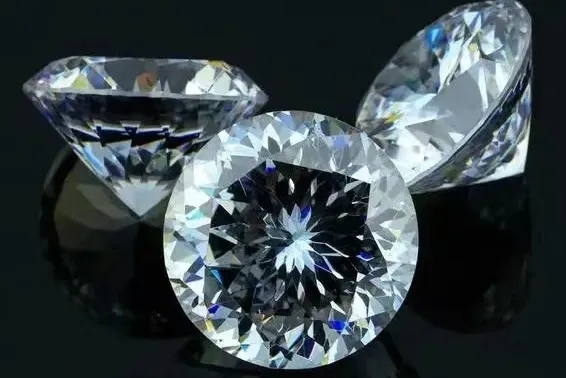
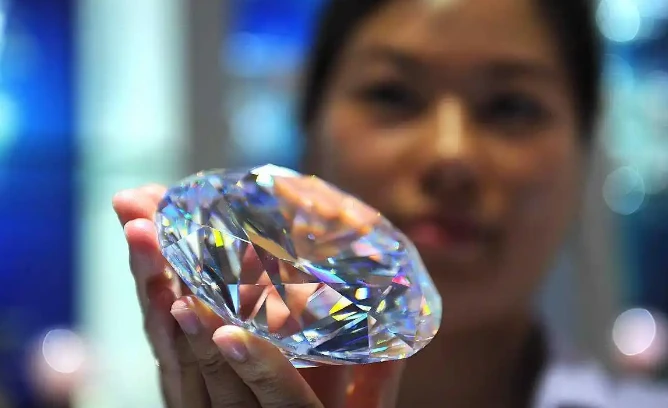
Step-by-step process of making a lab-grown diamond ring
Step-by-step process of making a lab-grown diamond ring
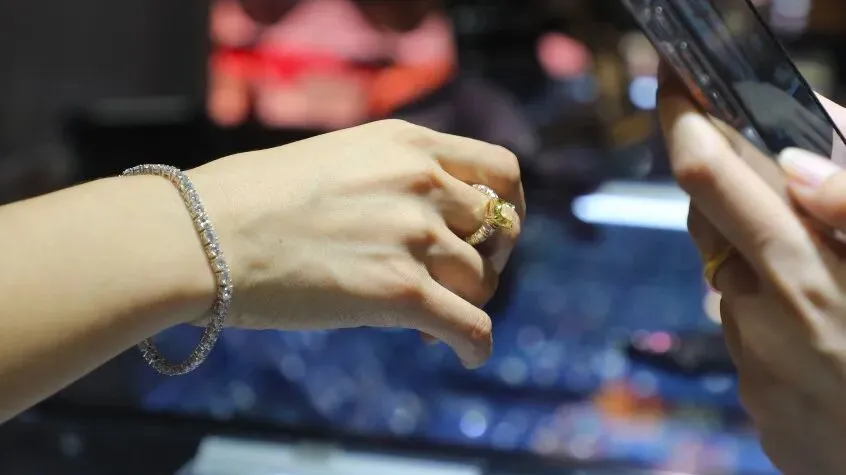
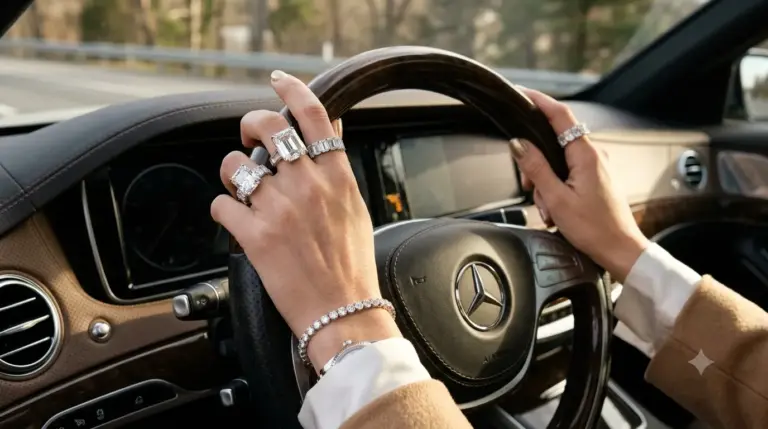
Nowadays, more and more people are choosing to buy and wear lab-grown diamond rings to satisfy their emotional needs, primarily because of the significant price advantage. Currently, the price difference between lab-grown and natural diamond rings is quite substantial.
However, you may not realize that a small lab-grown diamond ring like this goes through many stages, from the initial cultivation of the diamond to the finished product. Below, we’ll walk you through the step-by-step process of making a lab-grown diamond ring.
PART 1
Crystal Embryo Cultivation | Replicating Nature, Awaiting the Rebirth of Diamonds
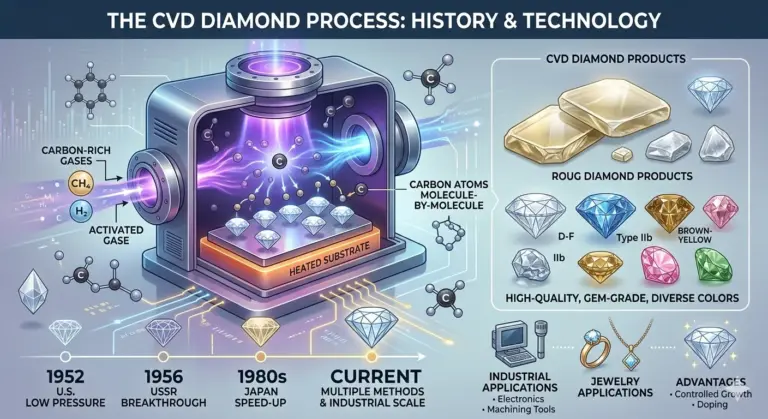
Currently, there are two main methods used to grow lab-grown diamonds:
1️⃣ HPHT (High-Pressure, High-Temperature) method
2️⃣ CVD (Chemical Vapor Deposition) method
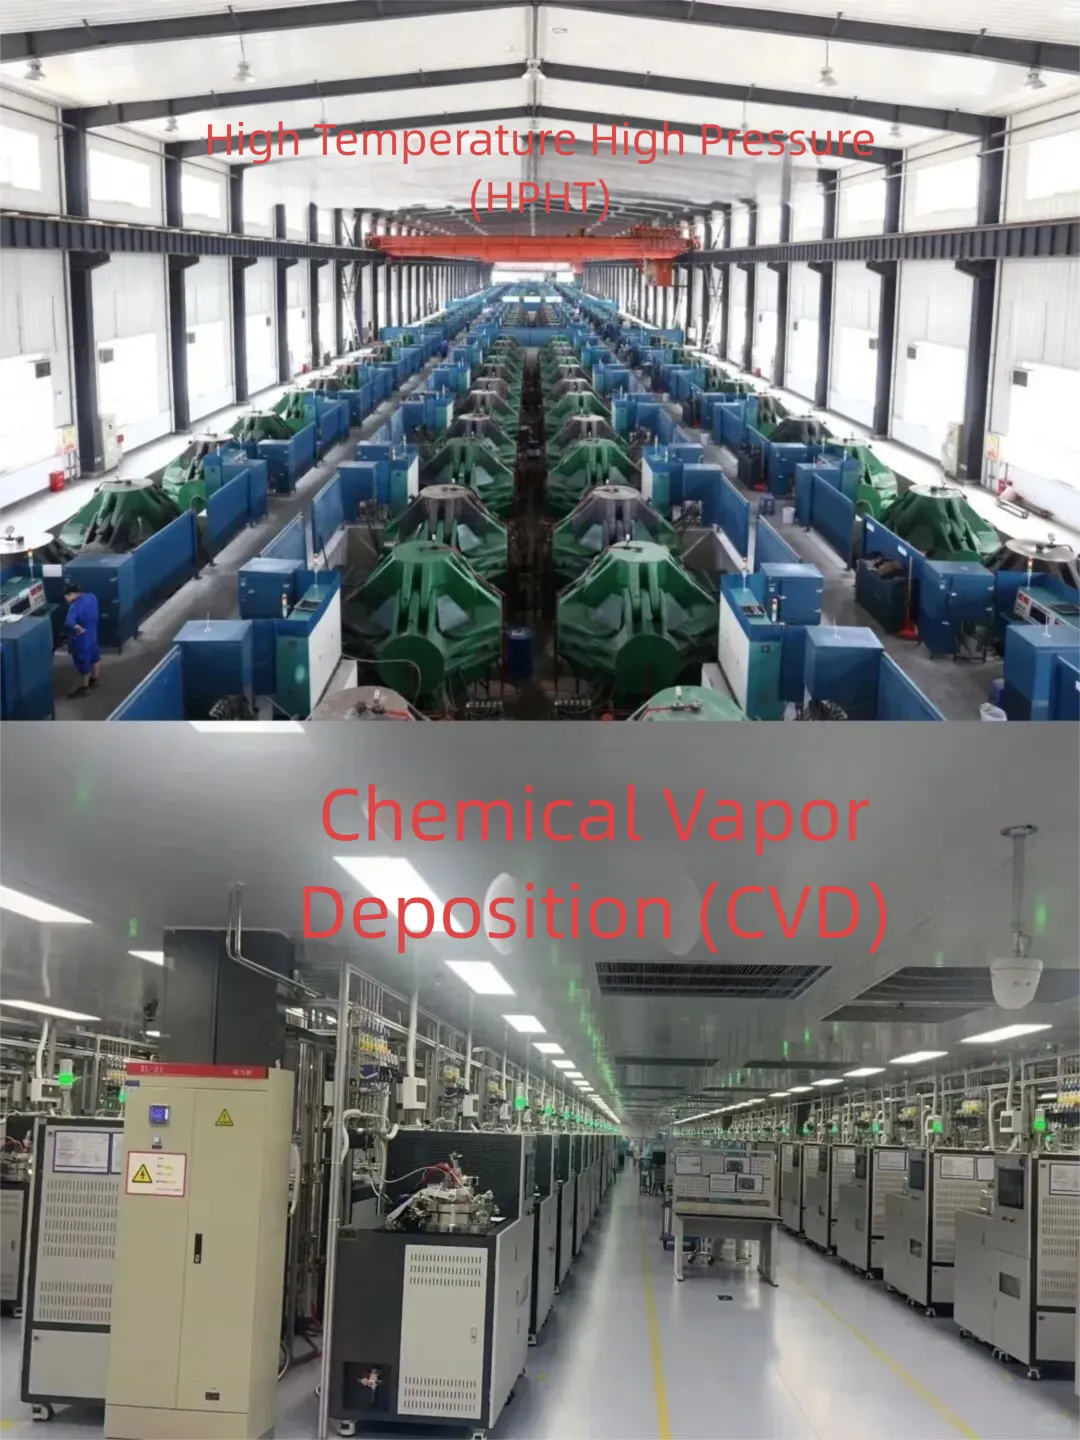
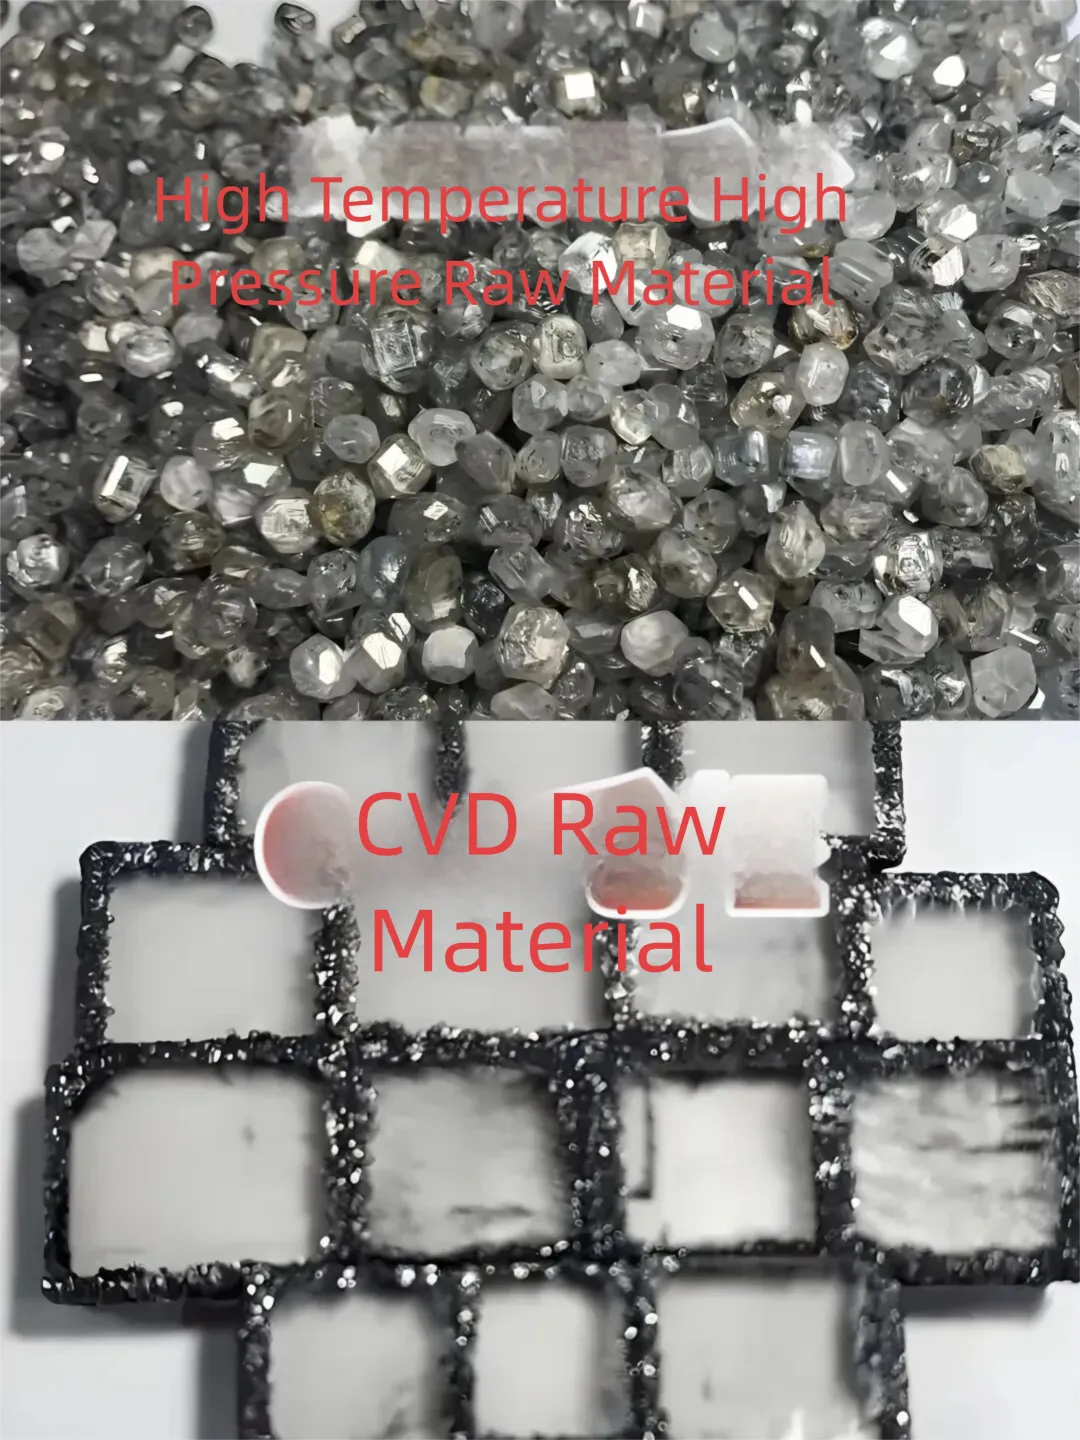
Although these two methods follow different approaches and have different focuses, they ultimately both produce genuine diamonds with physical and chemical properties identical to those of natural diamonds.
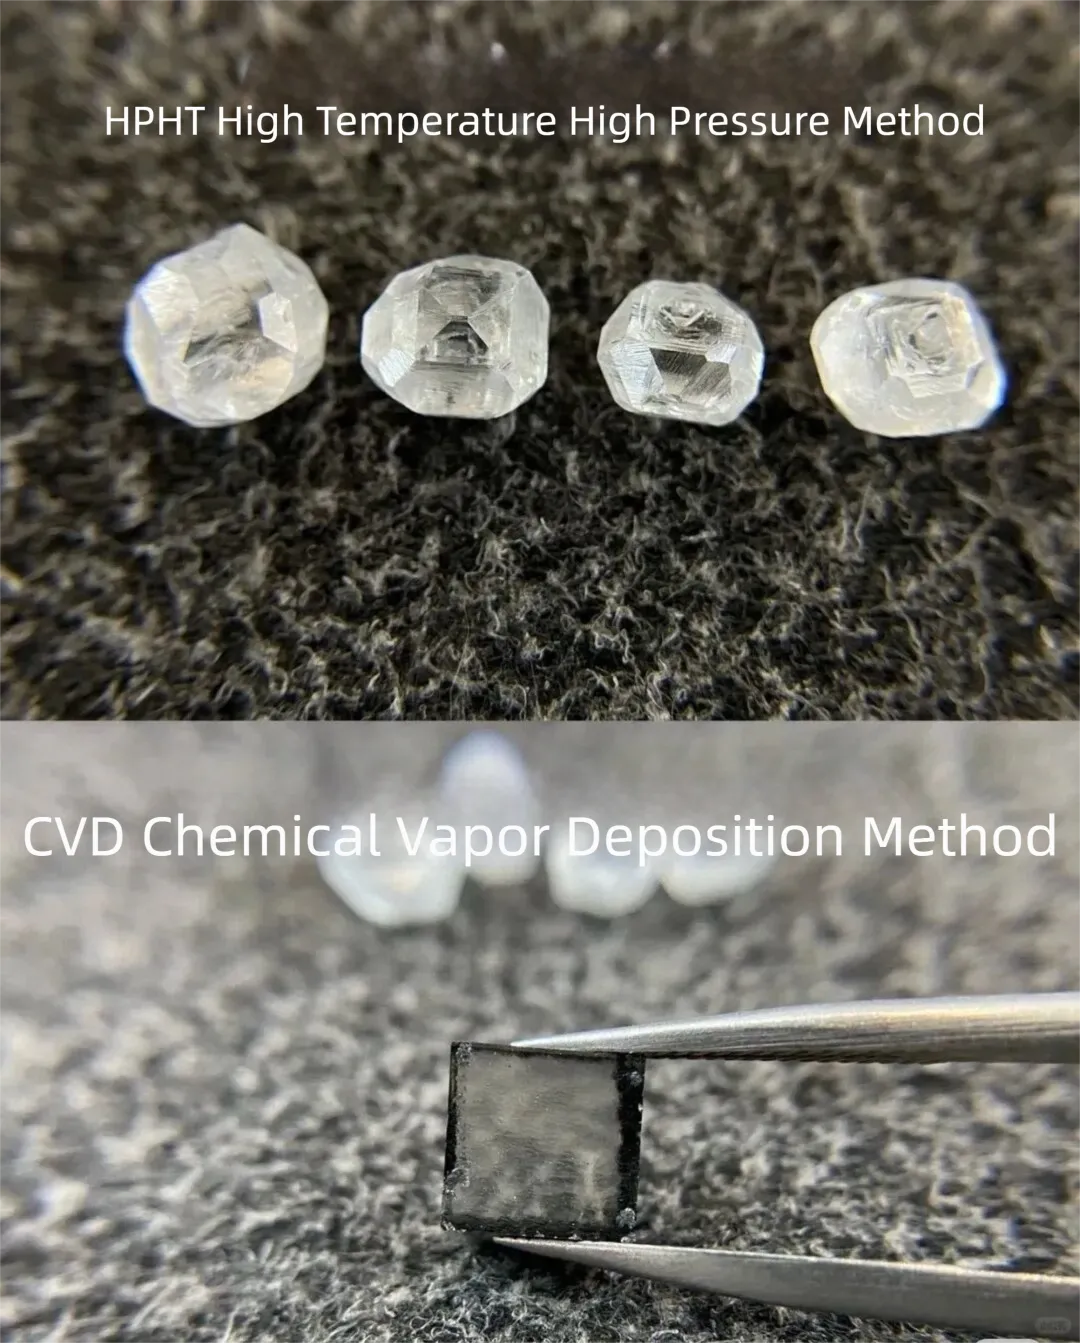
The creation of lab-grown diamonds began as an endeavor to “emulate nature.” Rather than relying on natural mining, the process involves precisely recreating the underground growth environment of natural diamonds in a lab—constant temperature, constant pressure, and a pure carbon source—all of which are indispensable.
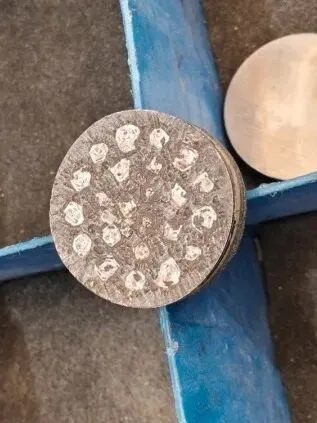
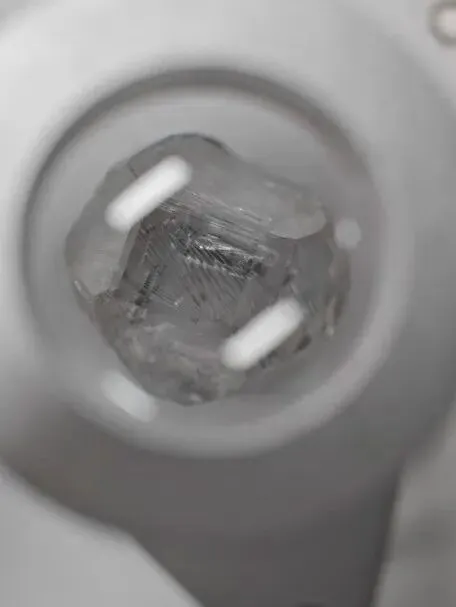
The artisans meticulously adjust every parameter, allowing carbon to slowly condense and crystallize, gradually transforming from tiny carbon particles into a fully formed diamond crystal. This process can take anywhere from a few weeks to several months!
PART 2
Strictly Selected Rough Stones | One in a Hundred, Upholding the Highest Standards of Quality
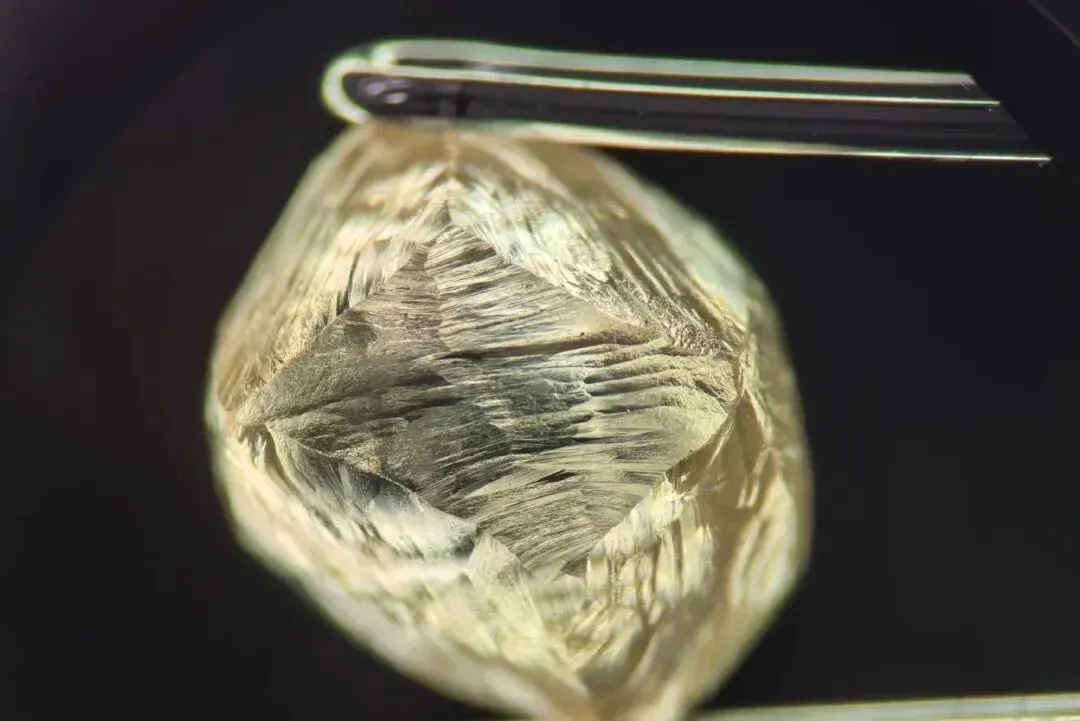
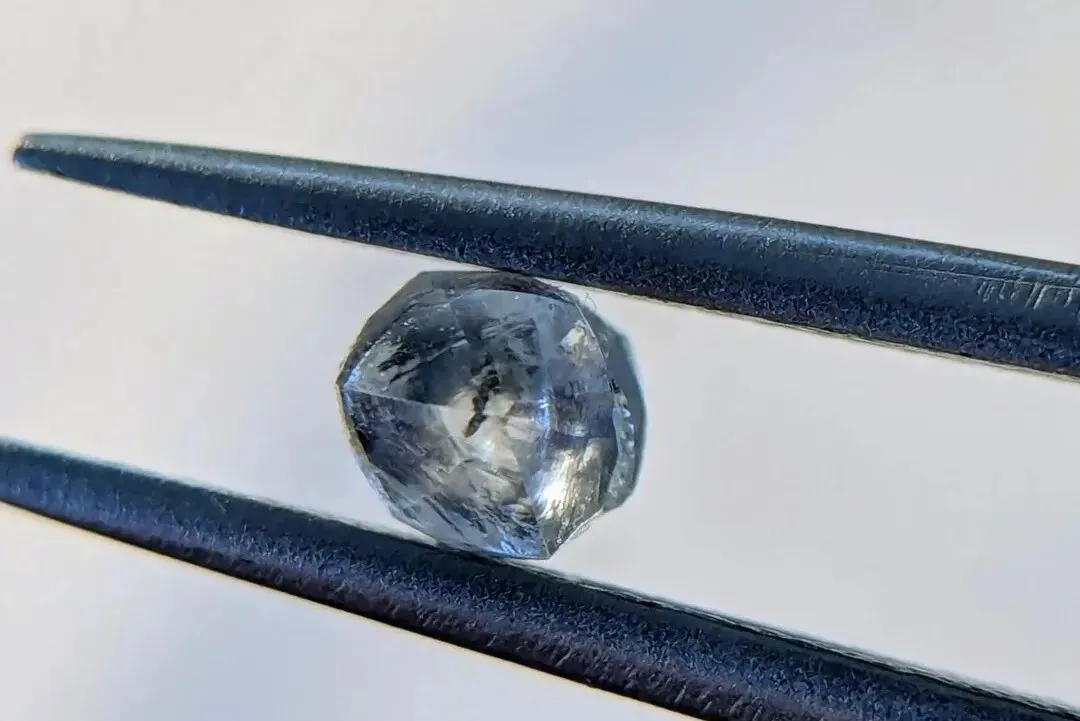
Once the crystal blanks are formed, not all of them will become the sparkling treasures you hold in your hands—this stage involves a rigorous selection process where only one in a hundred makes the cut.
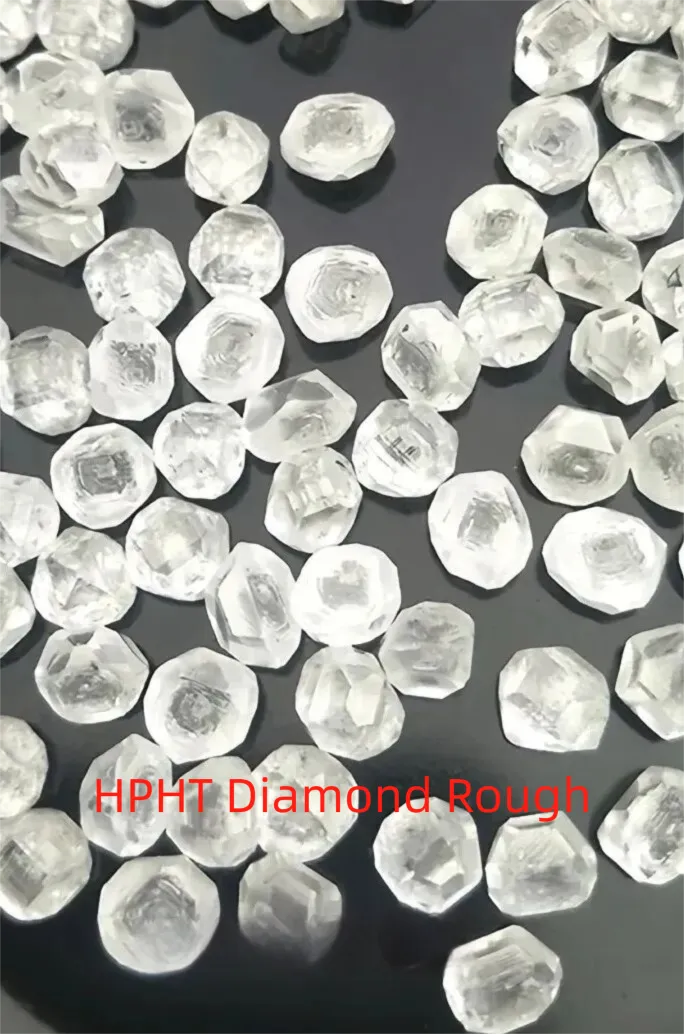
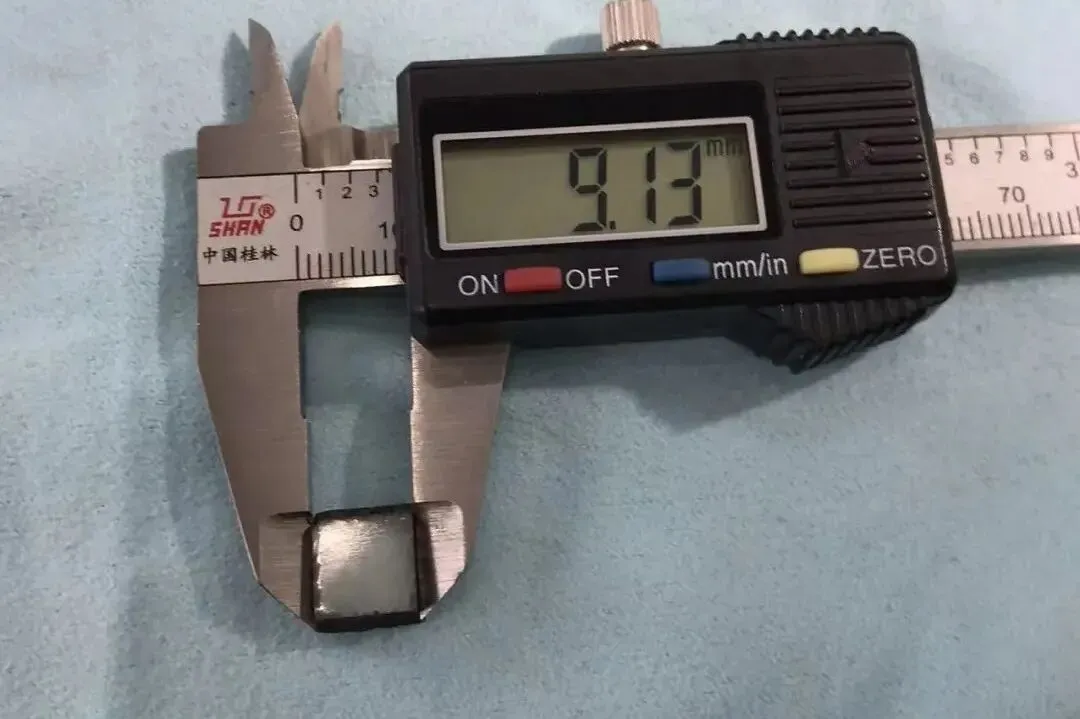
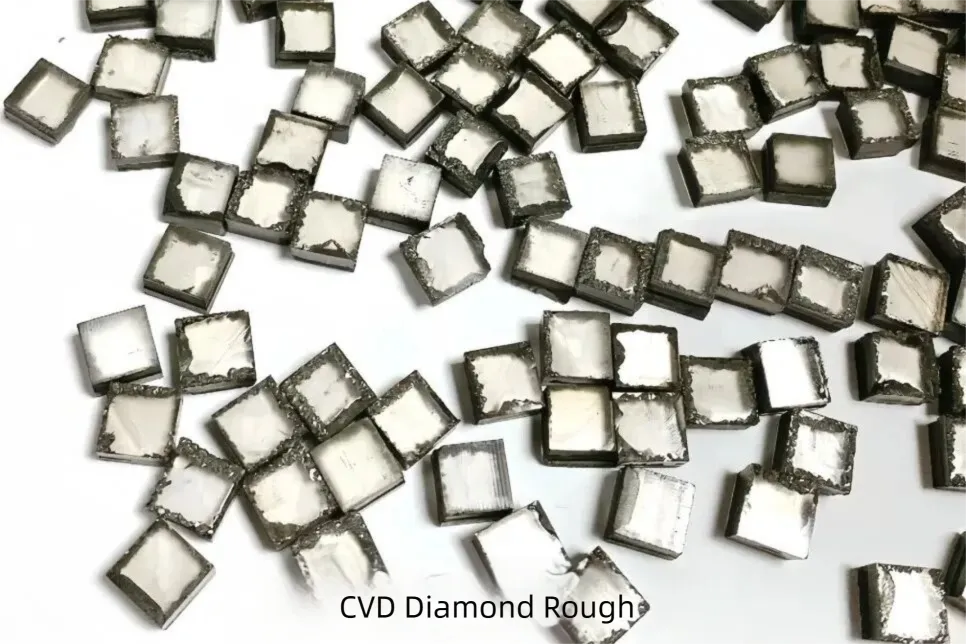
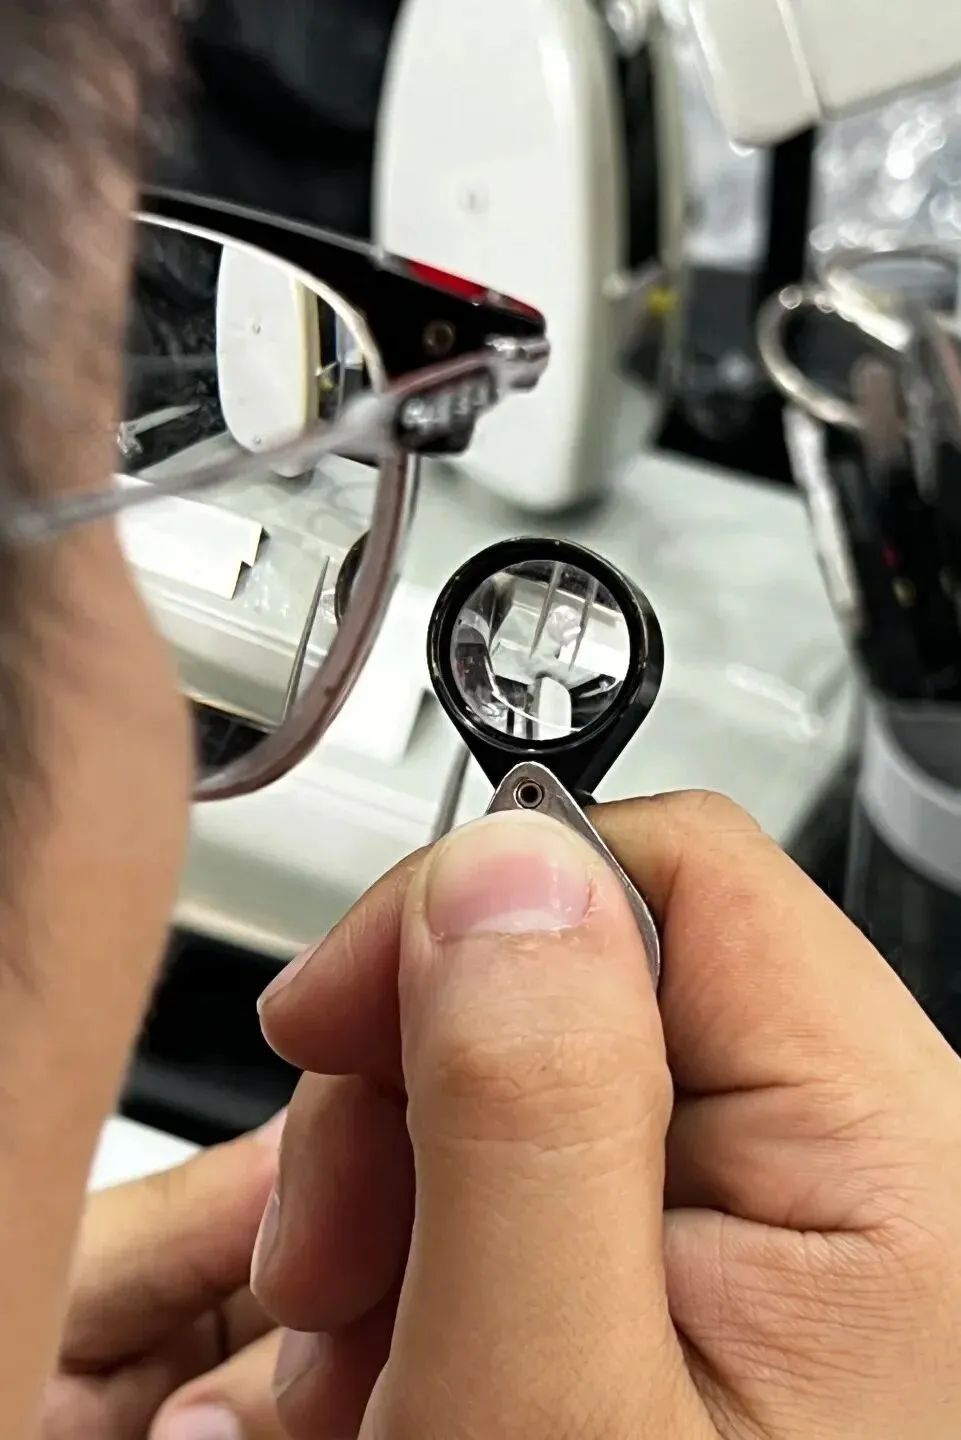
Artisans inspect each rough diamond individually, discarding those with impurities, flaws, or uneven coloration, and retaining only high-quality rough diamonds that meet the standards for clarity, color, and size.
PART 3
Precision Cutting and Polishing | Refined Through Countless Hardships, Capturing the Ultimate Fire
If the rough stone is a diamond’s “true nature,” then cutting and polishing is the crucial step that gives it its “soul”!
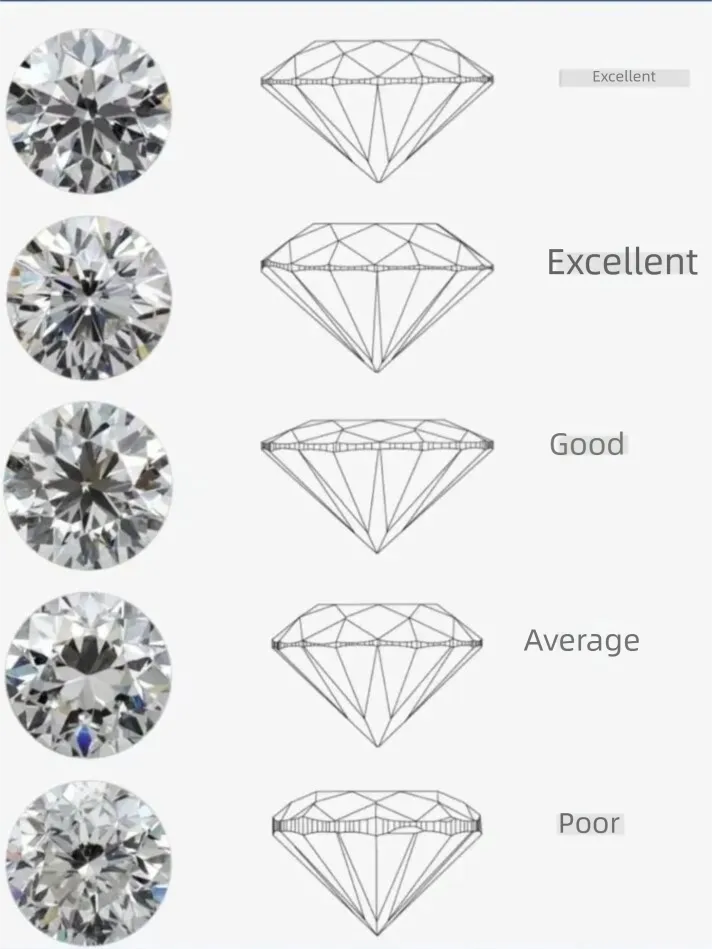
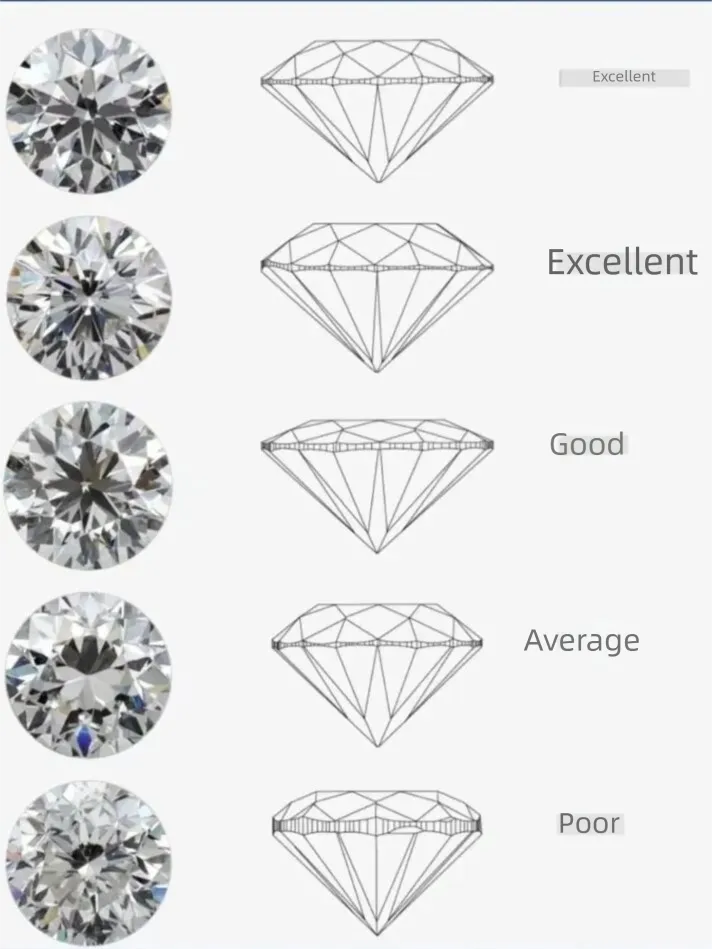
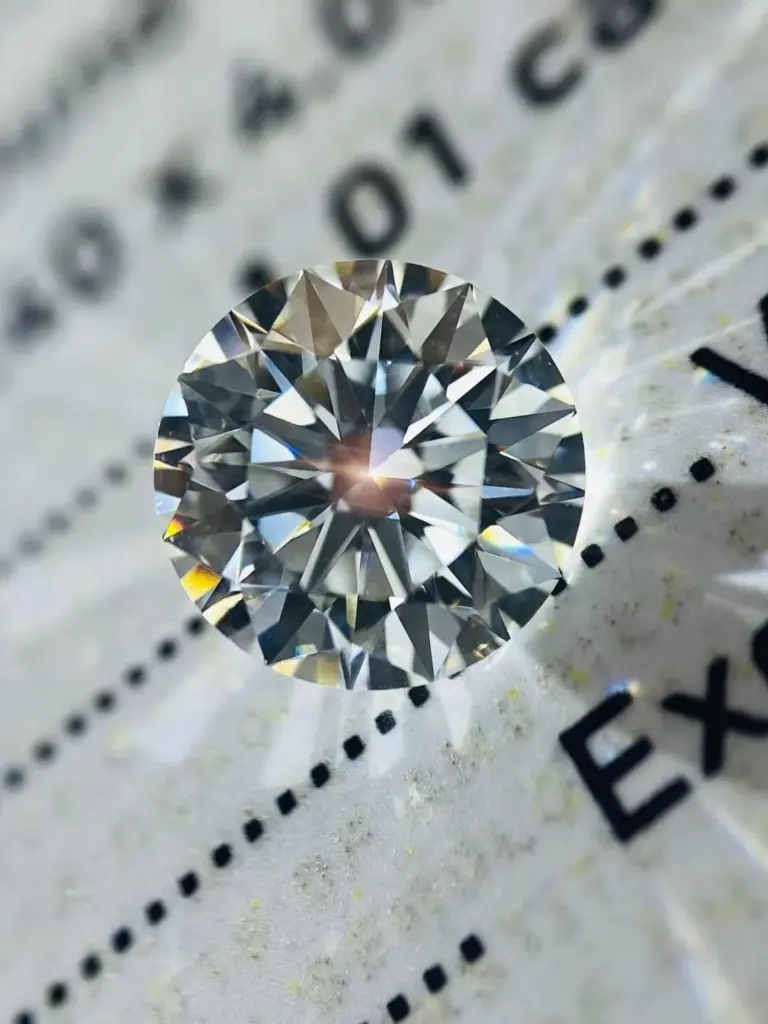
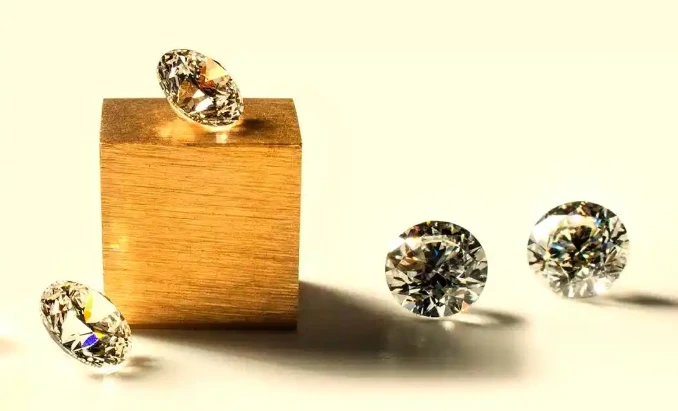
Experienced artisans precisely calculate the cutting angles based on the shape and size of each rough stone. Through a series of meticulous processes—including cutting, polishing, and shaping—they craft the rough stones into standard shapes such as round, square, and pear.
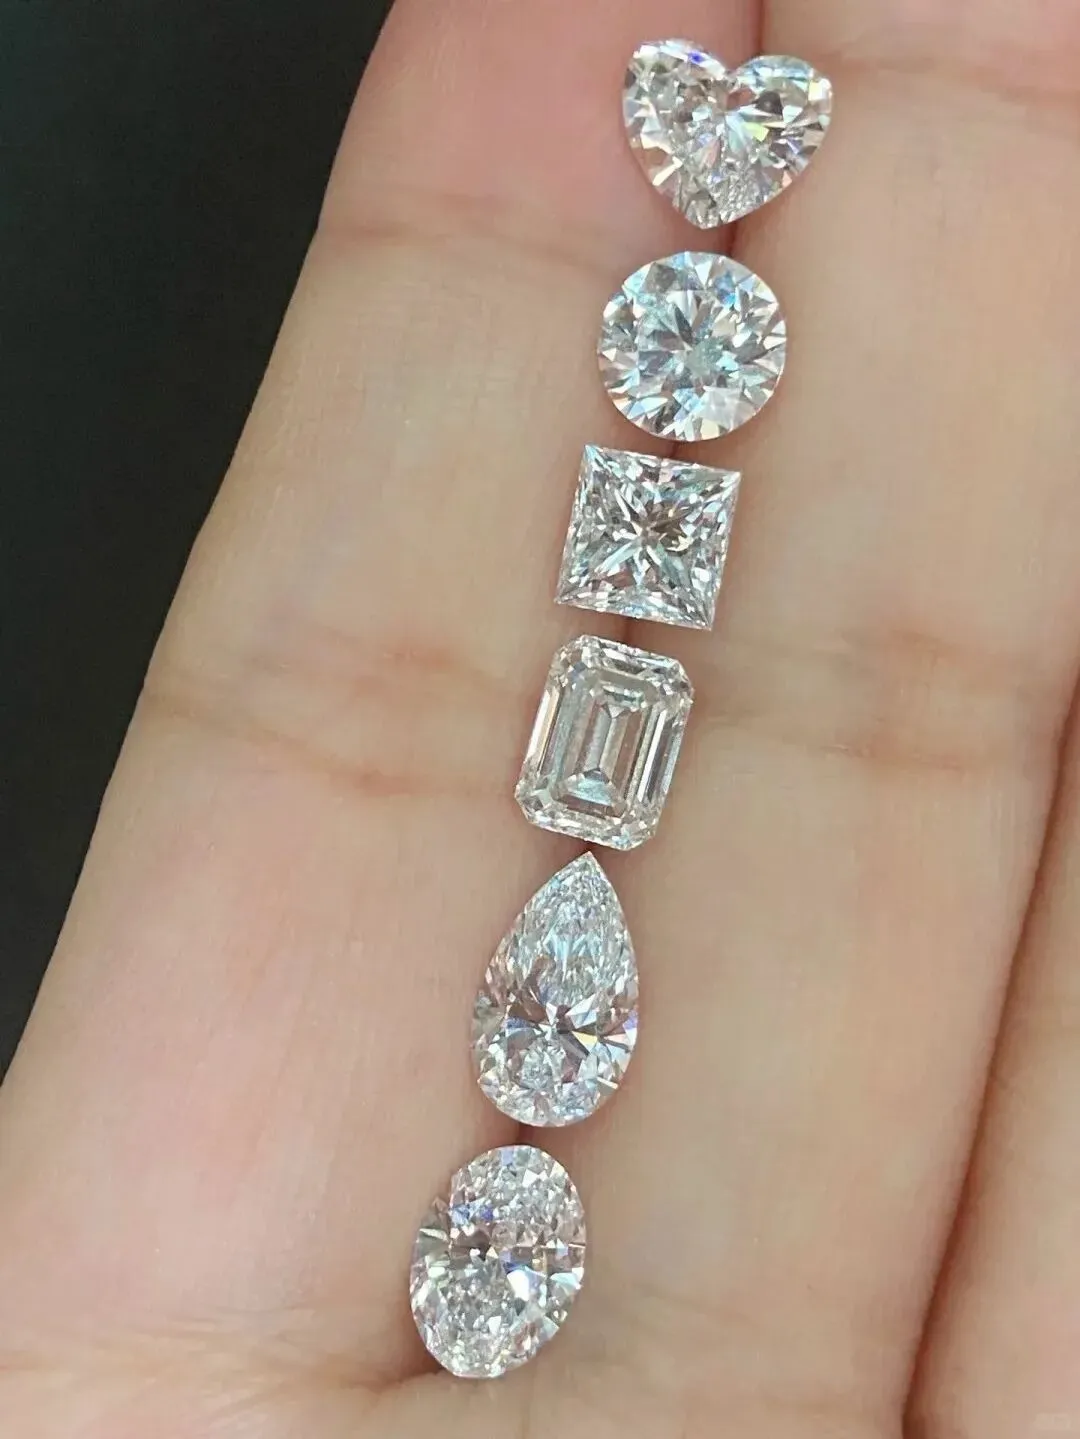
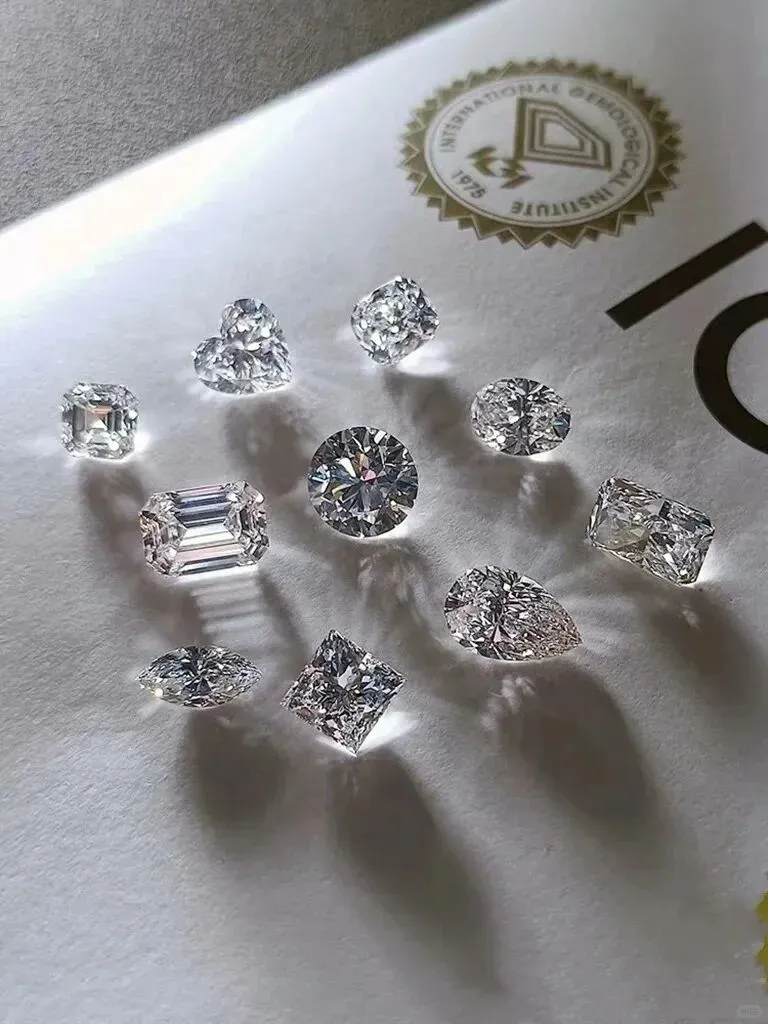
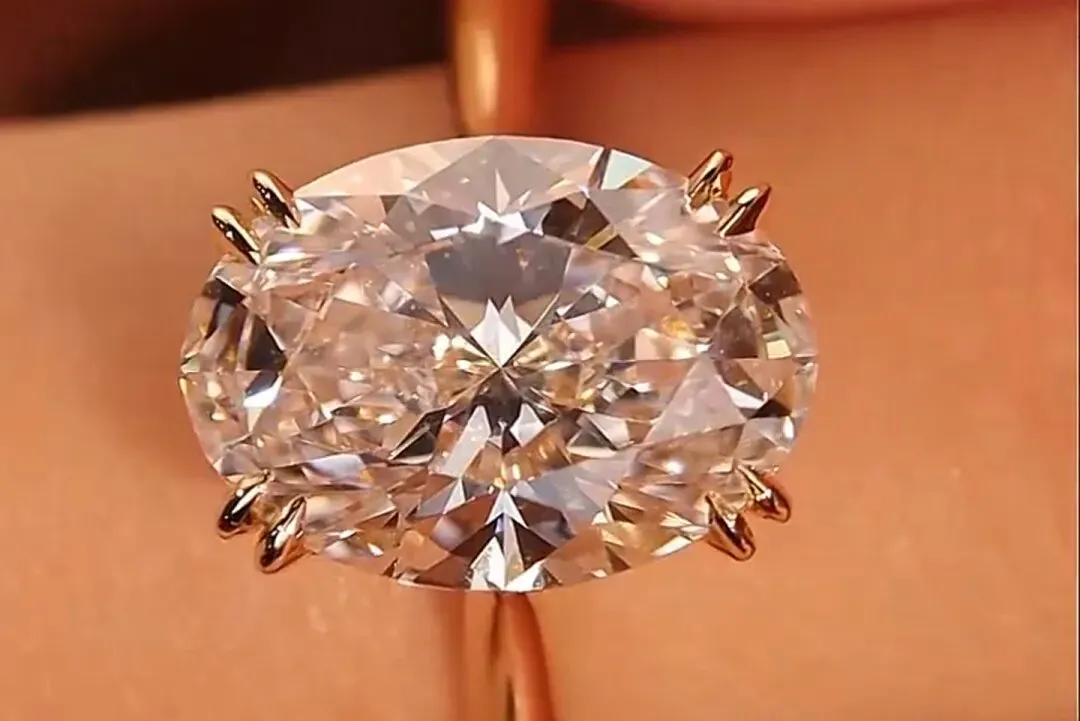
Every cut requires precise control of the pressure, and every facet must be polished evenly—all to bring out the diamond’s clarity and fire to the fullest.
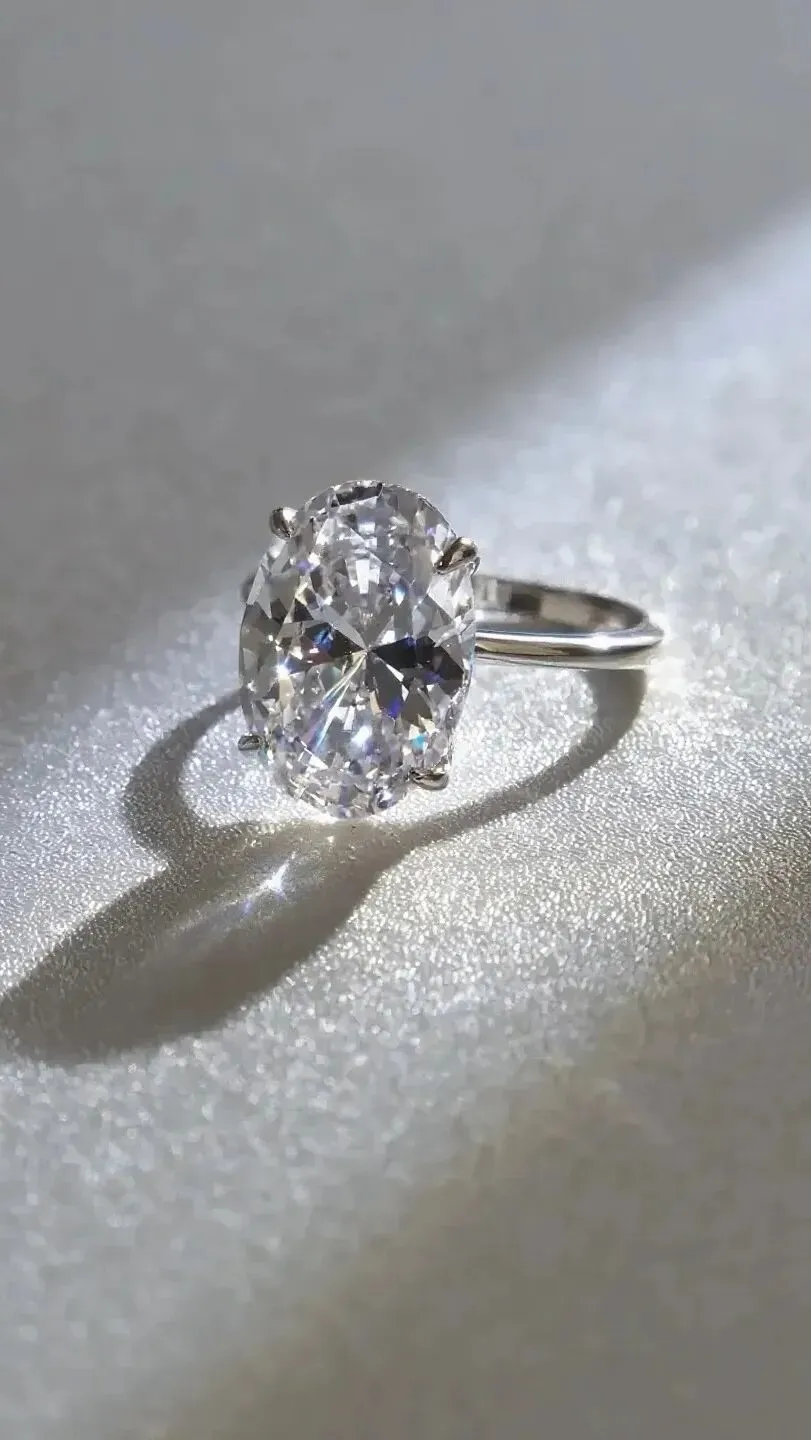
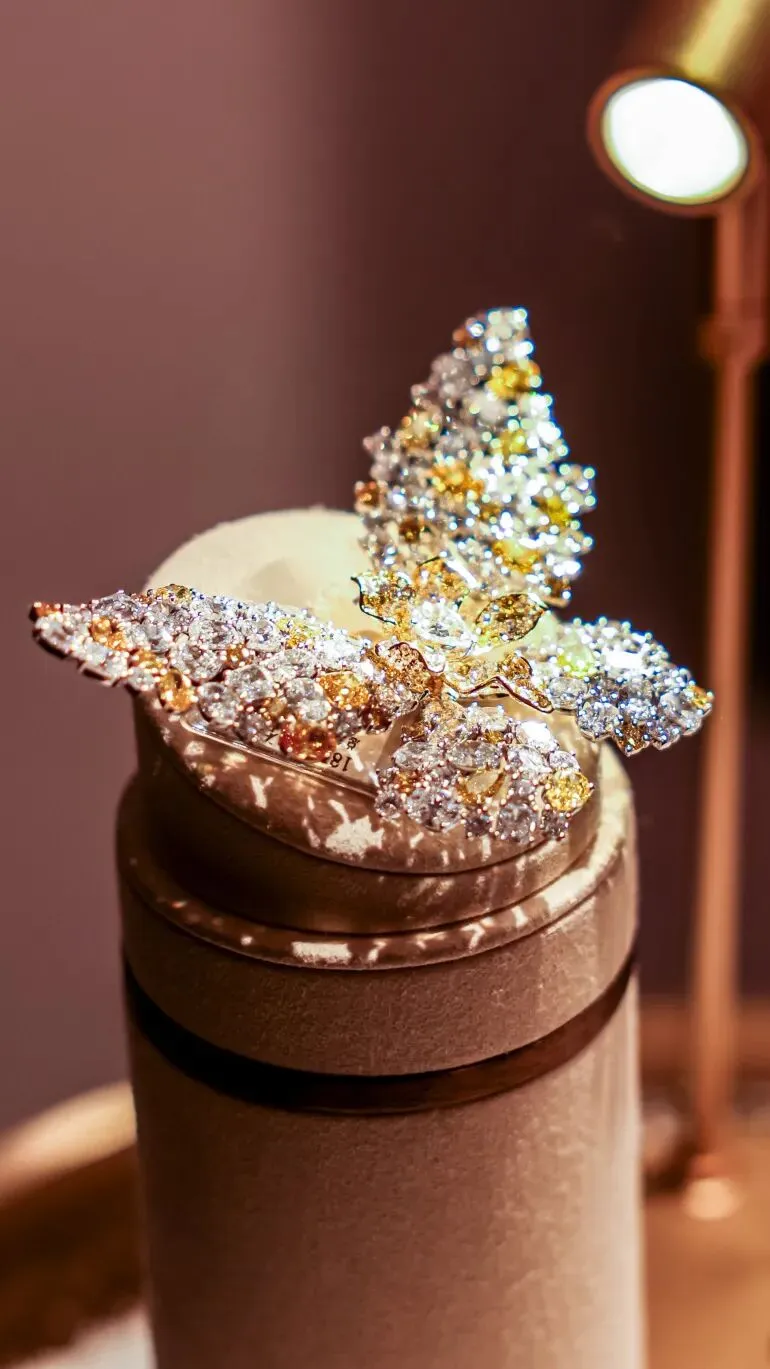
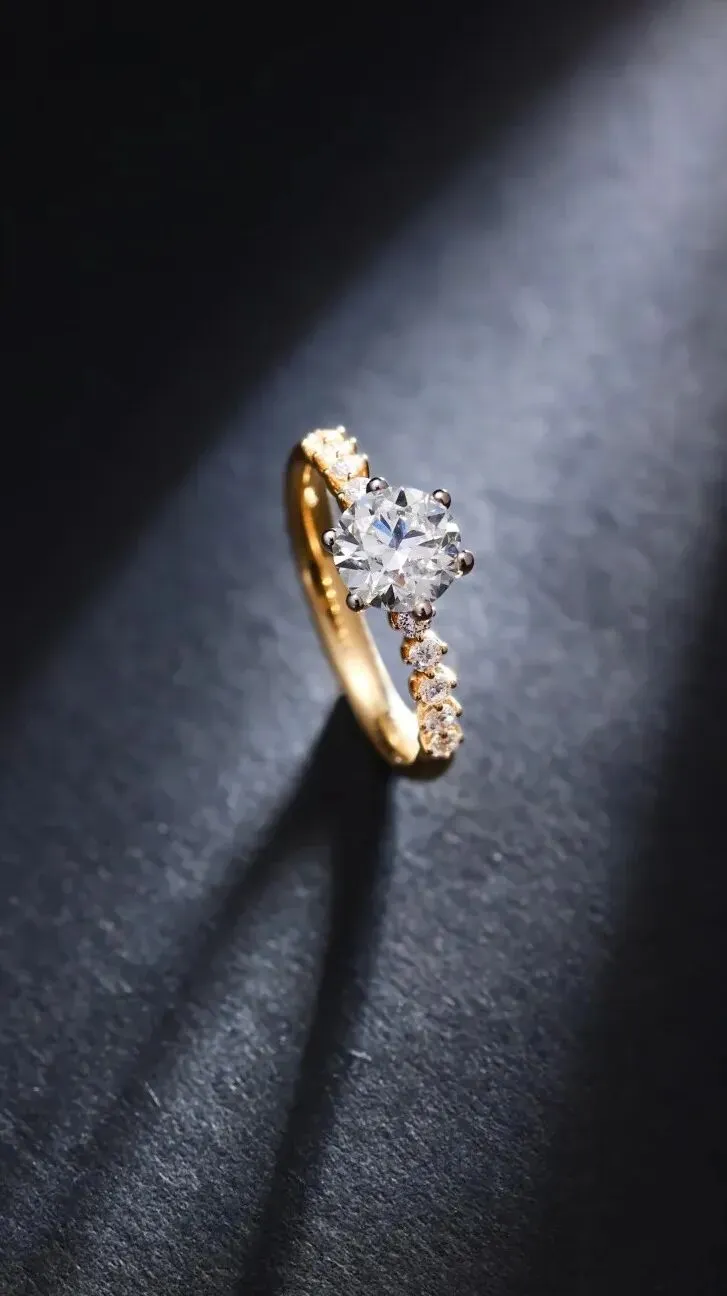
As you stroll through the exhibition, you’ll notice that those sparkling lab-grown diamonds—whether they’re simple everyday pieces or exquisite gifts exchanged among close friends—are all cut to perfection, radiating a sense of sophistication as the light refracts through them.
PART 4 Fine Polishing | Smoothing Out Roughness, Unlocking a Smooth Texture
Once the cutting and grinding are complete, the diamond must undergo a “fine polishing” process to remove any surface roughness and reveal its brilliant, lustrous finish.
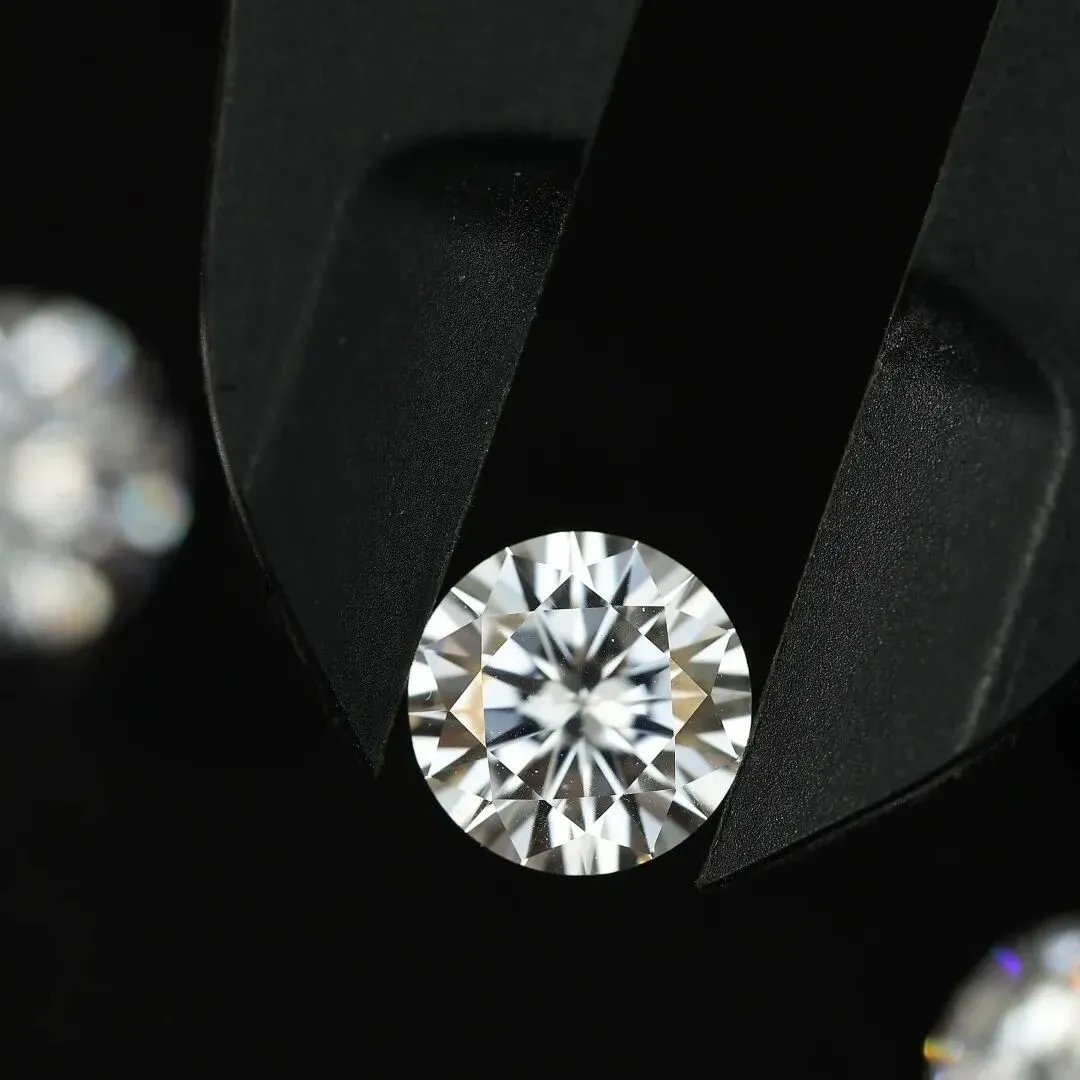
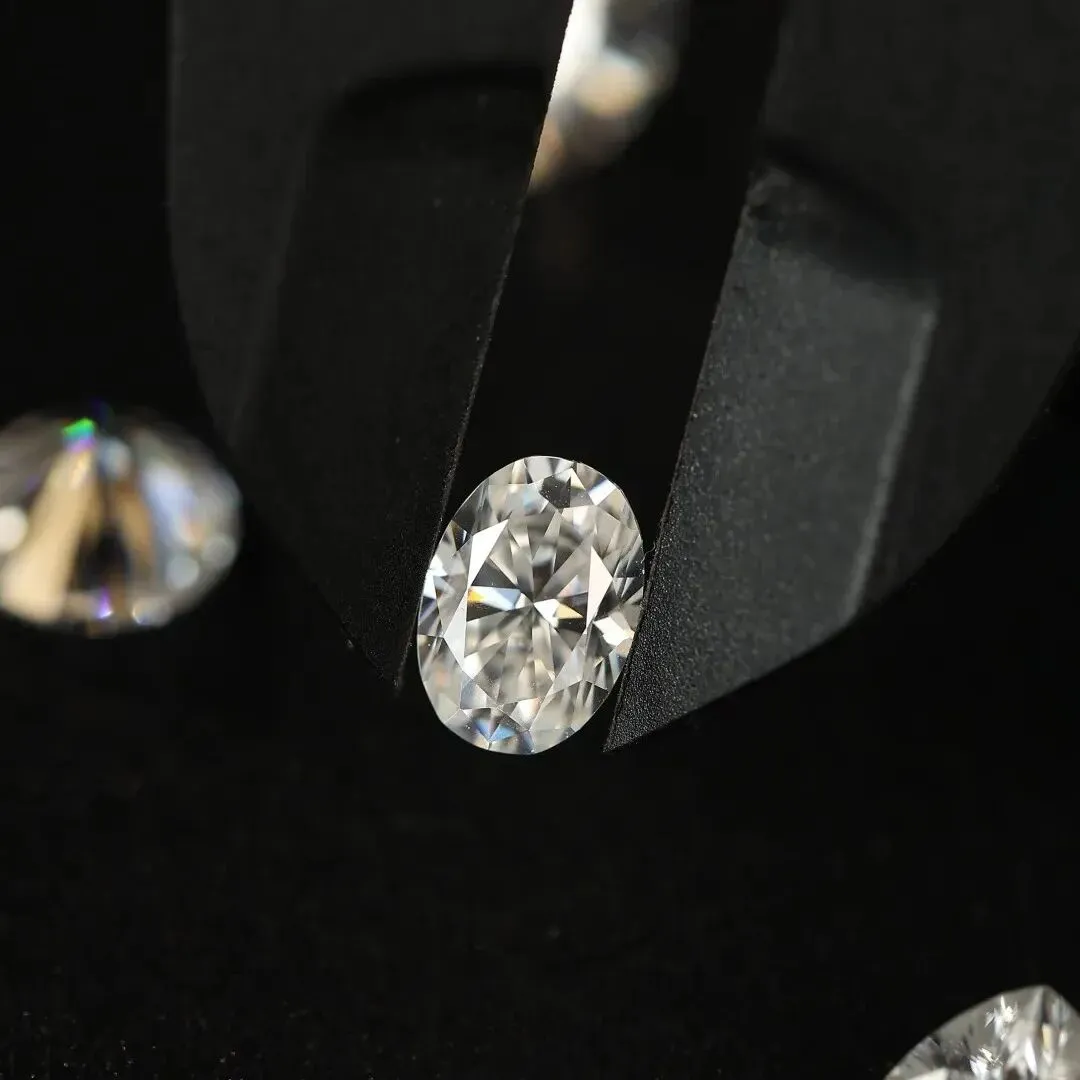
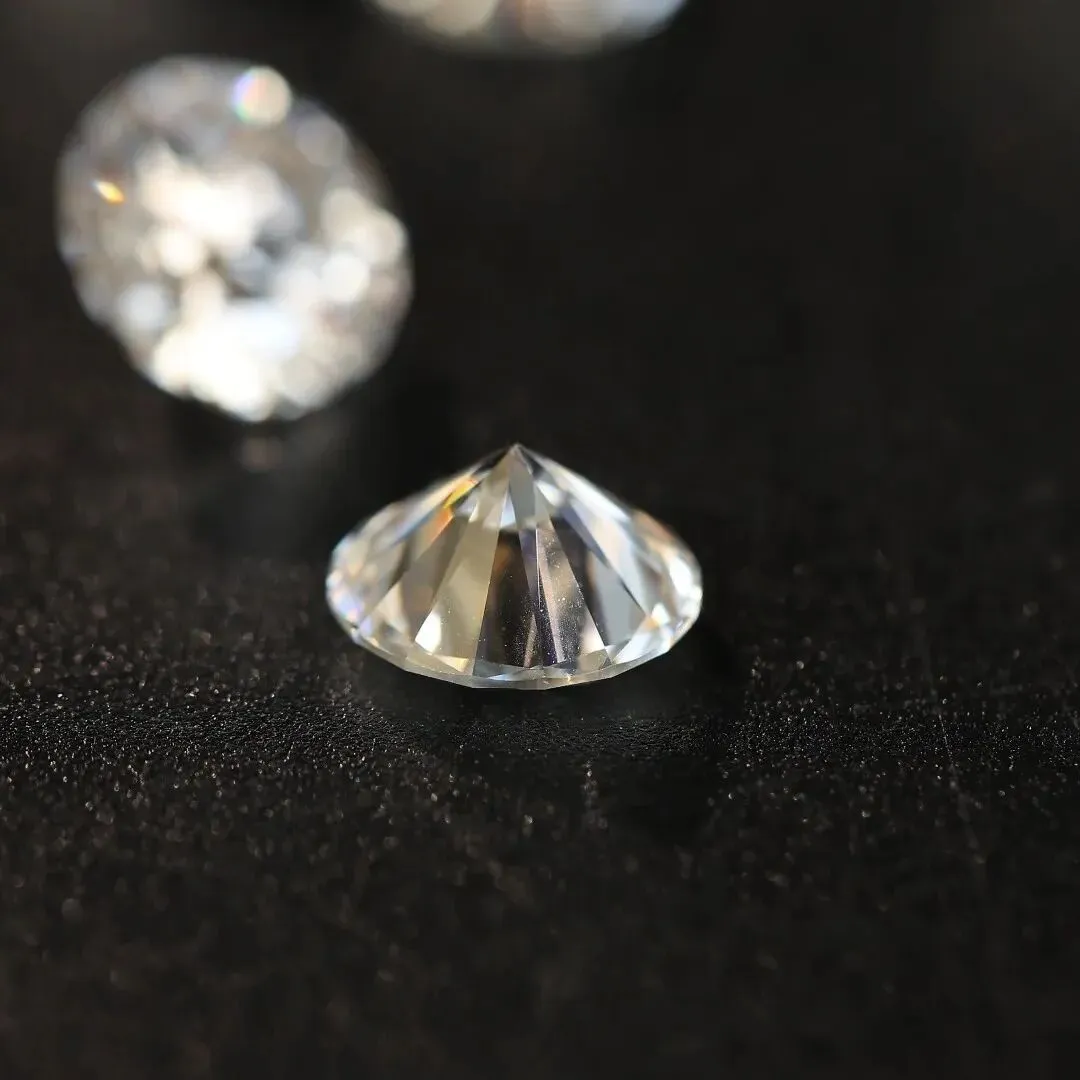
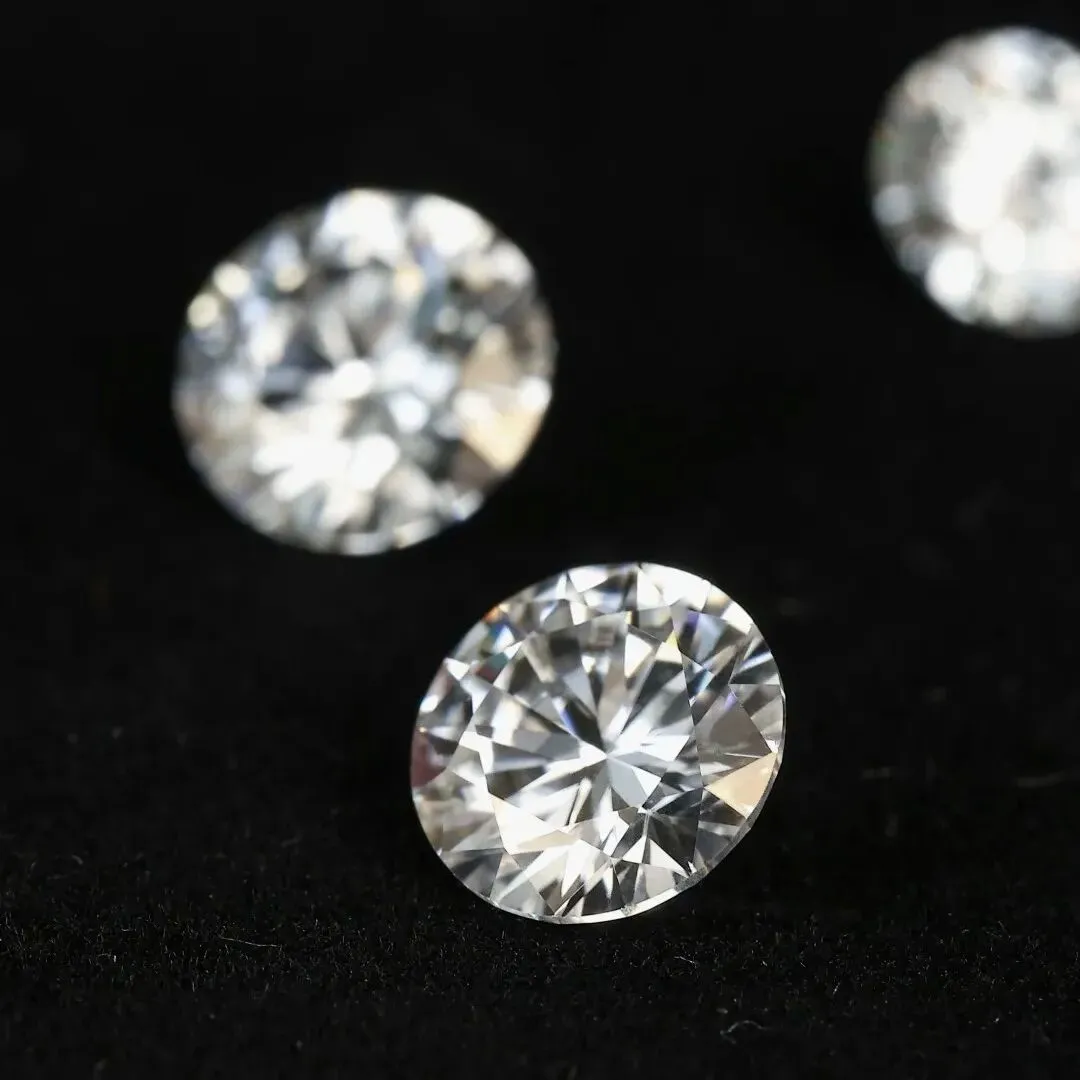
Just as a woman’s elegance is never achieved overnight, but is slowly refined through the details, every bit of care she puts into it shines through in the most unexpected moments.
PART 5
Exquisite Inlay | Artfully Designed to Suit Any Occasion
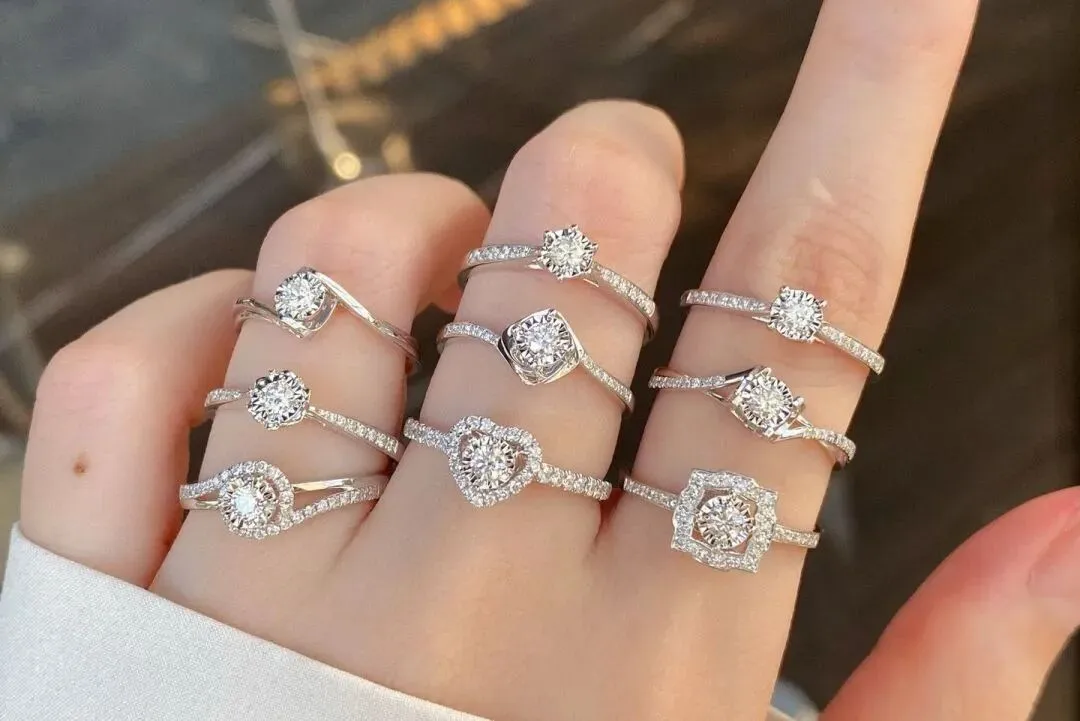
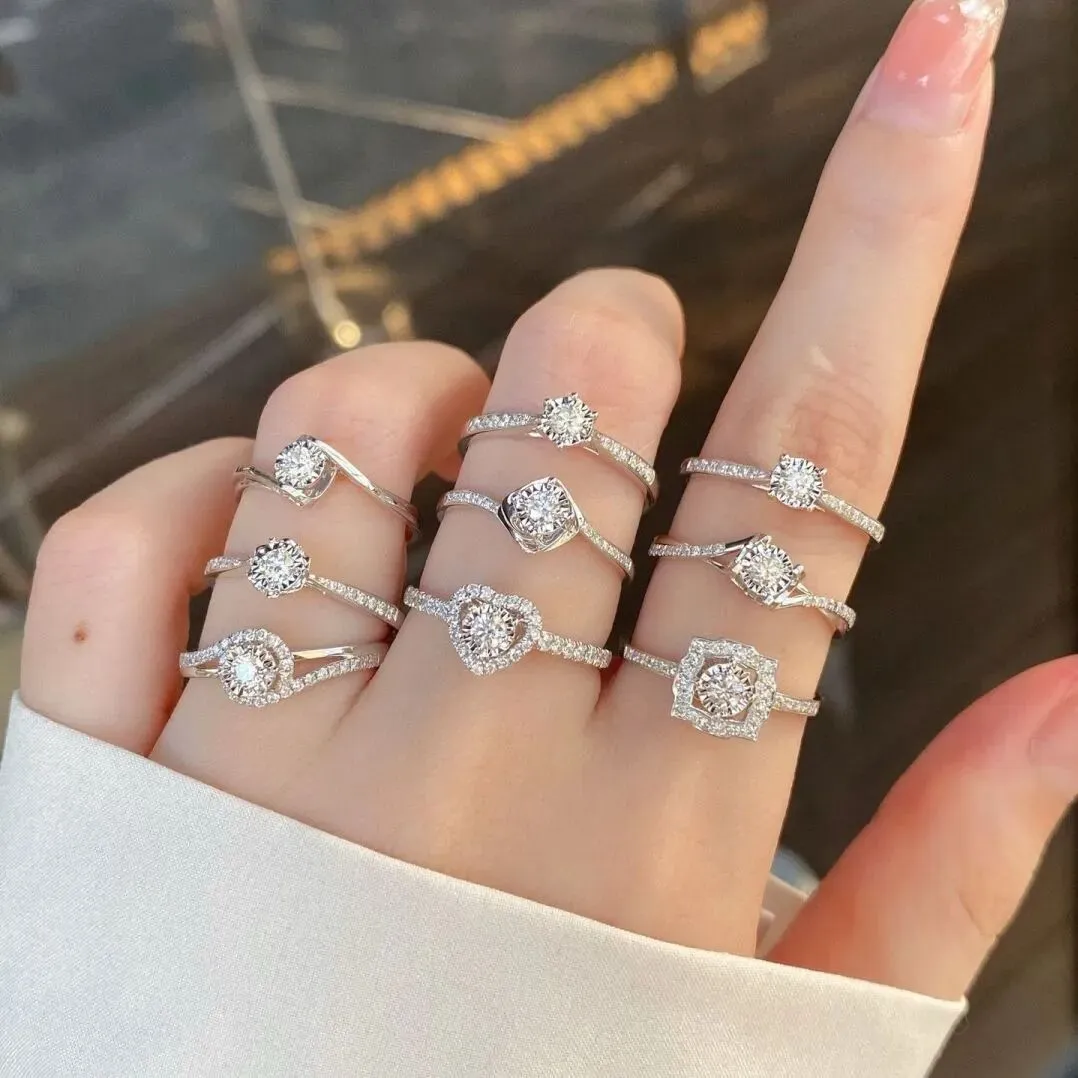
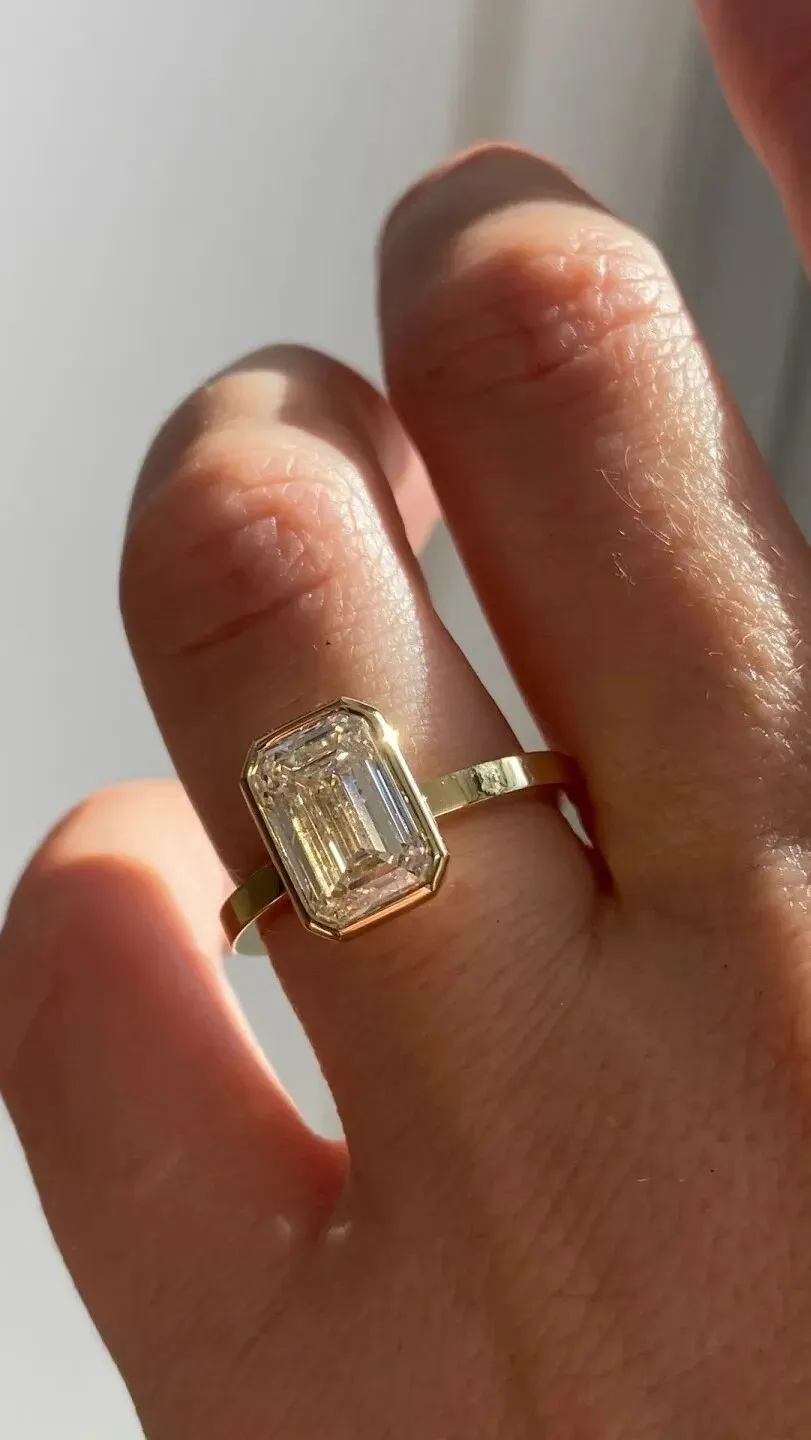
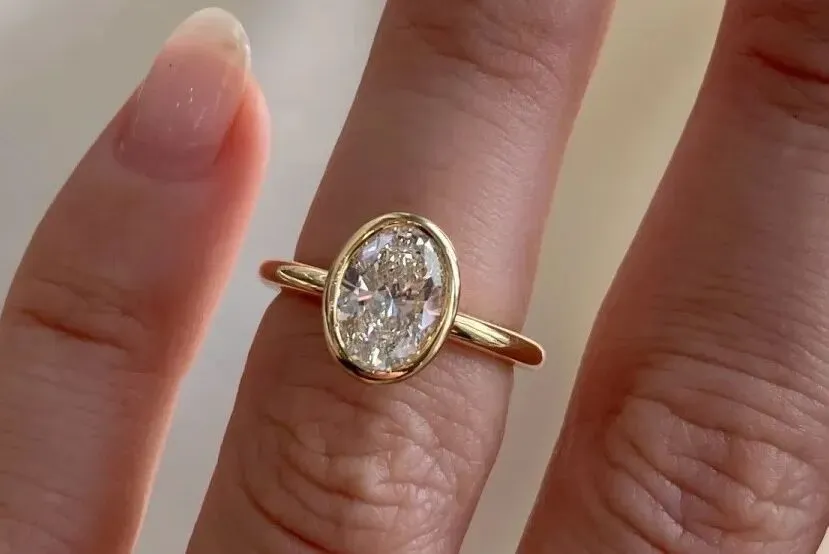
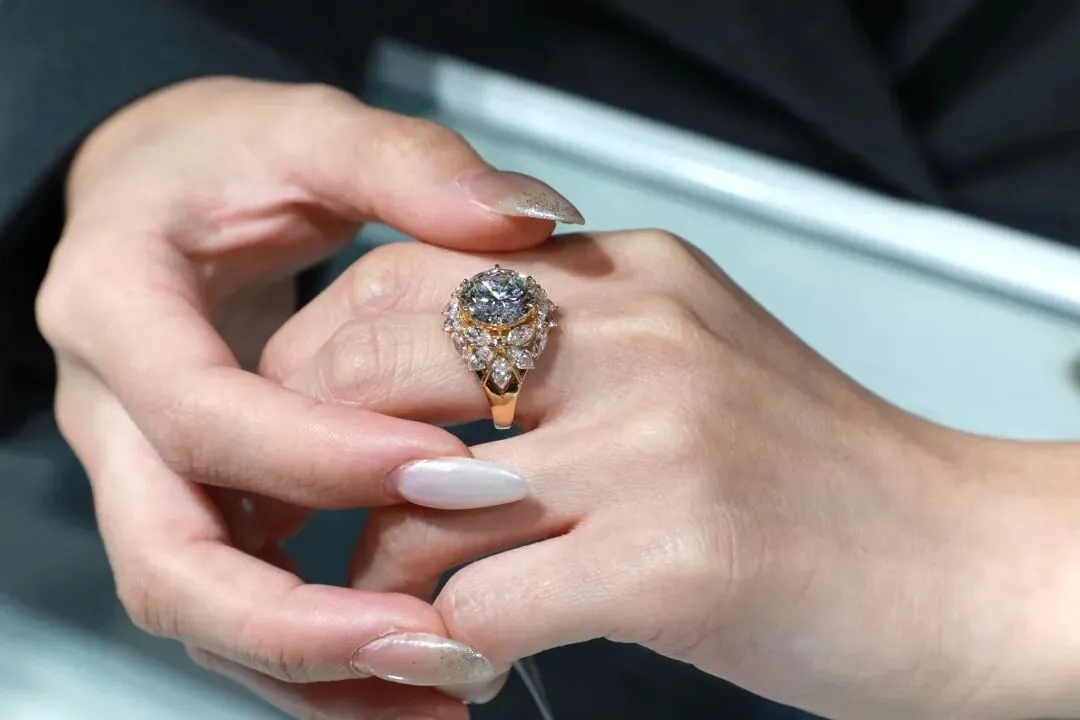
After undergoing the first four steps, the diamond finally reaches the final stage—💎 expert setting—transforming from a “loose diamond” into a “wearable piece of jewelry.”
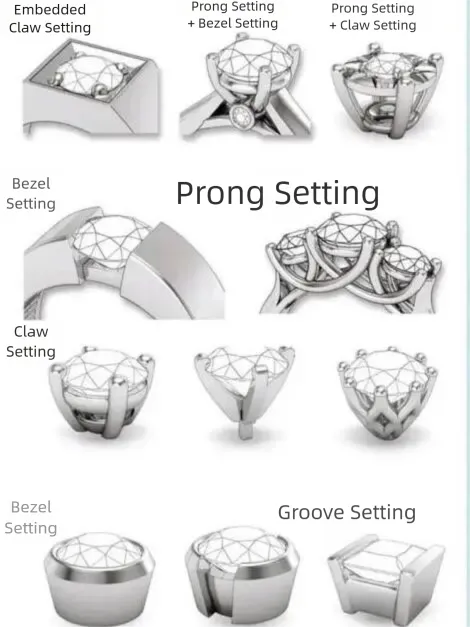
Depending on the diamond’s style, the designer will pair it with a simple, elegant ring setting or a delicate, petite pendant setting.
PART 6
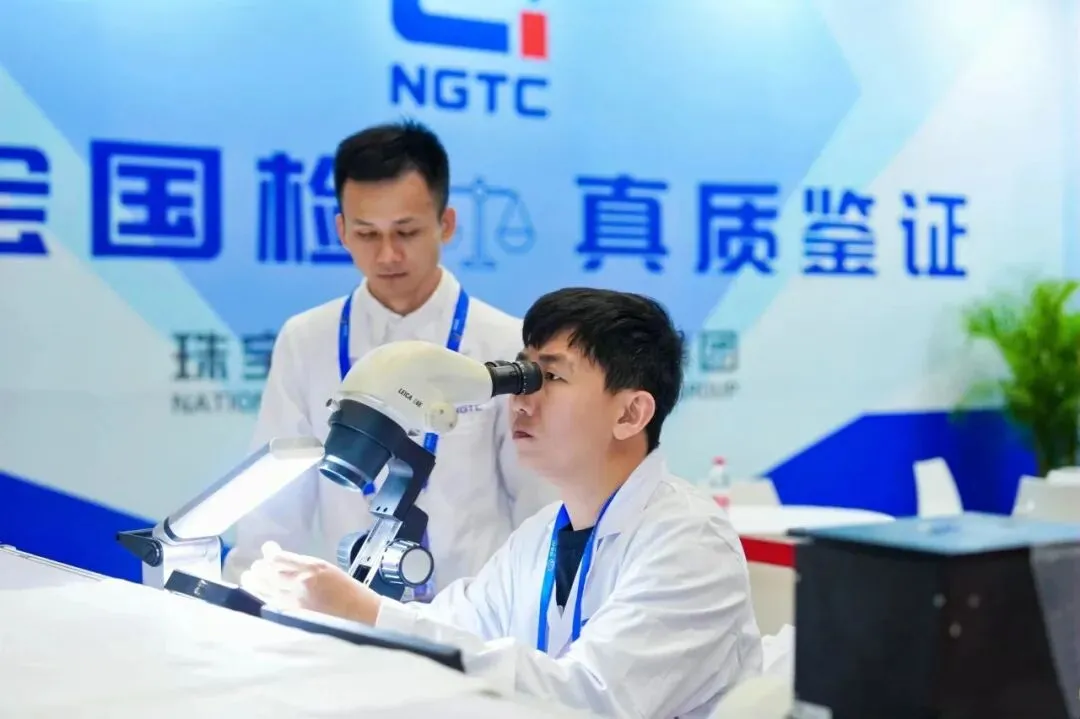
Authoritative Quality Inspection | Backed by National Inspection Standards, Shop with Confidence and Peace of Mind
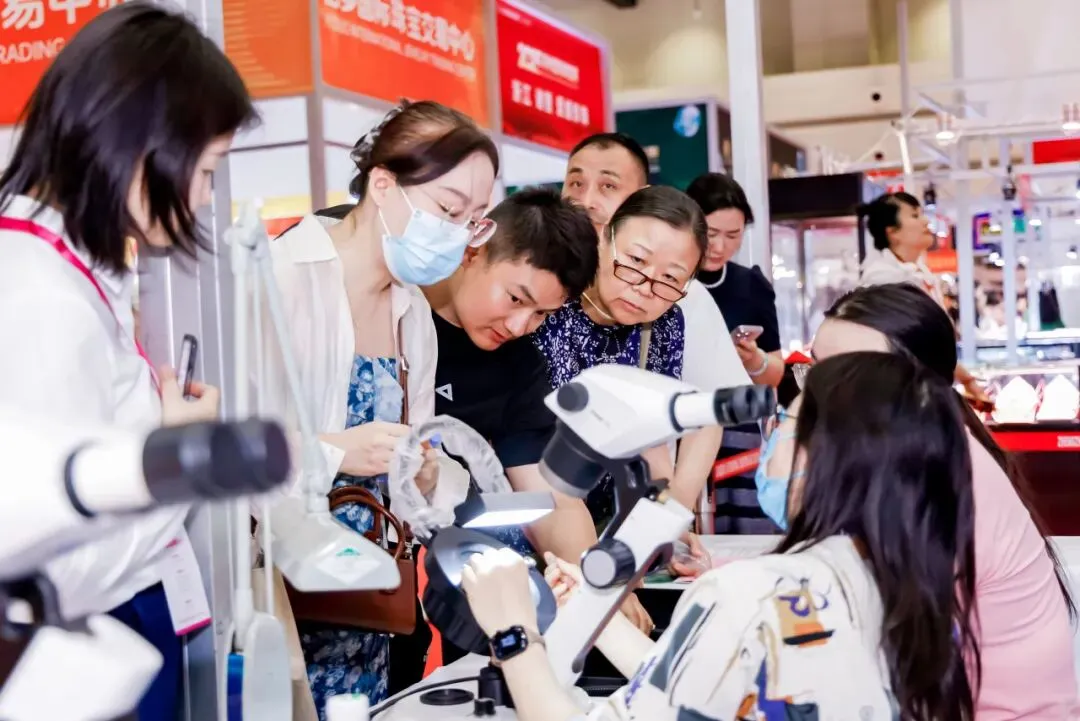
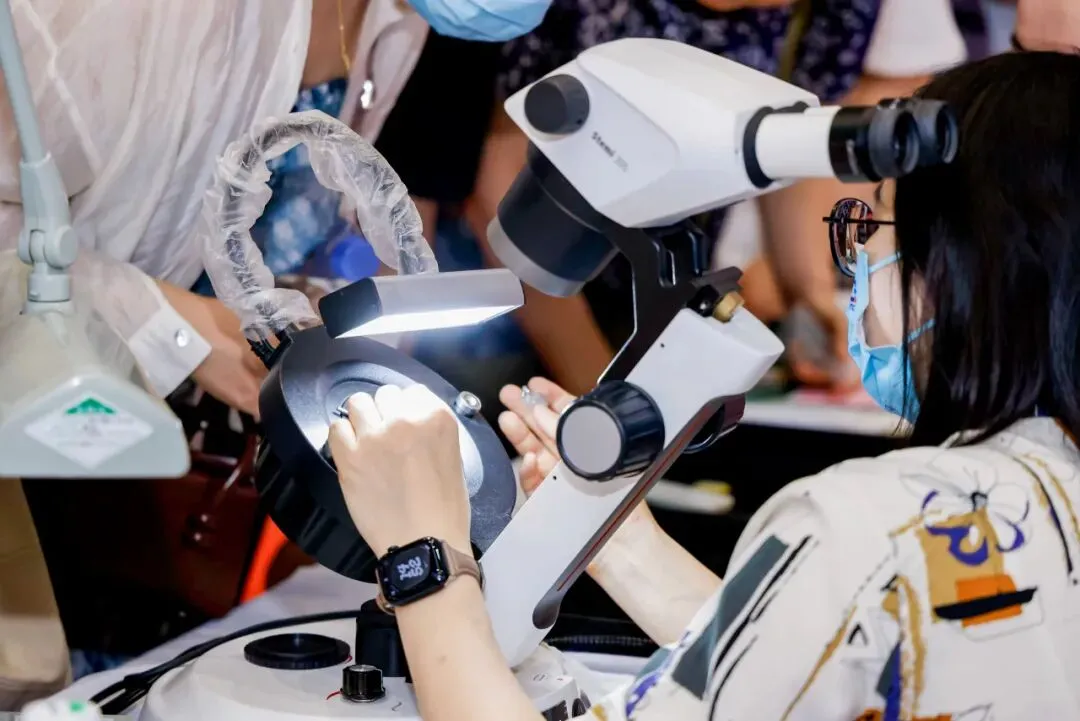
For women, the biggest concern when buying diamonds is getting ripped off, and the sixth step in the lab-grown diamond production process—authoritative quality inspection—gives us complete peace of mind.
After following these steps, you’ll end up with a sparkling diamond ring that truly captures your heart. What do you think? Through this step-by-step process of making a lab-grown diamond ring, have you gained a general understanding of the entire manufacturing process?